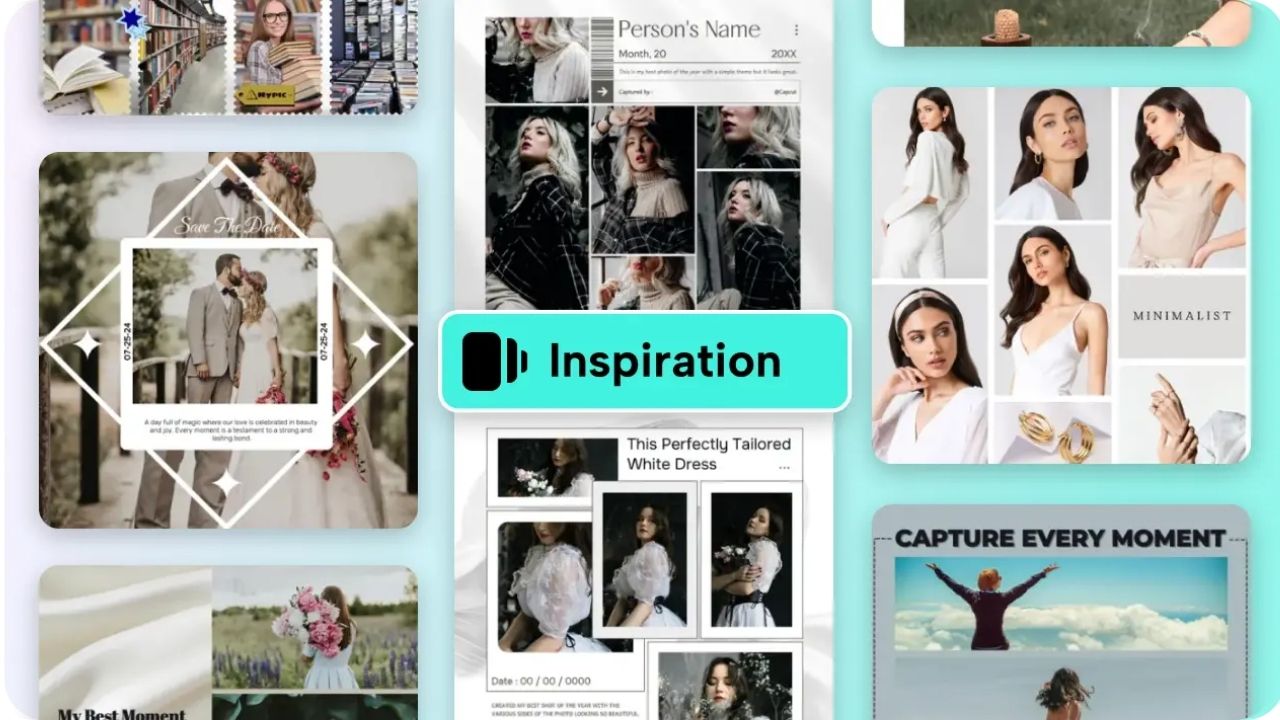
A social media feed is not only a set of pictures and posts. Landscaping is usually the first thing that is visible, and a well-designed and clean layout can really make an impact. Grid layout is used by many creators and businesses to create order and style in their pages. A photo is divided into smaller squares, and these are shared in turns to create a bigger picture when seen on a profile. The process is easy and fast by using Pippit’s grid maker, a free online design tool.
Why a Grid Maker Matters
A grid maker assists in arranging the photos in a way that the page of the social media is interesting and professional. Without the other, it may not look good to have large images being posted. A grid provides some order and permits each tiny element of a photograph to convey some element of a larger story. A free grid maker is a simple and dependable option when it comes to brands, artists, and individuals who need to portray a professional appearance.
Choosing the Right Tool
Grid makers on the Internet are numerous, but not all of them are convenient to use. Some require downloads or complicated steps. A tool such as Pippit makes the process both straightforward and accessible so that anyone can design grids without having to possess technical skills.
Step 1: Select a Photo
The sequence starts with a photo selection to be divided. High-quality photos are the best, and they should have clear details that can be seen when divided into small pieces. There is the dramatic effect of a single photo presented over several posts.
Step 2: Upload to the Grid Maker
Once a photo is chosen, it can be added to the grid maker tool. Pippit allows easy uploading directly from a device. The tool then makes the image ready to be edited, ready to be divided into sections.
Step 3: Choose Grid Size
The various grid makers have various grid sizes, including 3x3 and 3x2. This is a matter of choice, depending on the space available on the social media feed and the appearance being sought. A bigger grid is more detailed but occupies more posts, whereas a smaller one is preferable for faster layouts.
Step 4: Adjust and Preview
When the grid size is selected, the image can be resized into parts. The preview option will display how the image will look on the feed. This is to avoid cutting off or misplacing any important details.
Step 5: Save and Post in Order
The final step is saving the divided images. Then each of the pieces is shared in the right sequence so that the entire grid can be seen on the social media profile. Pippit creates files that are already numbered, and this makes posting easy, and there is no confusion.
Conclusion
It is no longer a reserve of experts to create a stylish social media grid. A free online grid maker tool like Pippit can make anyone design layouts that are neat and professional. The process of creating an outstanding feed is not that complicated and includes only a few steps, which include selecting the right photo, splitting it into parts, and posting step-by-step. The purpose of a well-designed grid is not just to look good, but it is a logical, structured method of communicating with others.